INSTALLATION PROCEDURE
Type A Installation
(faucet with rounded end)
> Check the installation movie
The water purifier used in this video is the faucet mount type, but the counter-top type can be installed in the same way.
The MK series body is shown below. The same process is used to install the SX series and counter top type water purifiers.
Prepare the following parts (included in the Adapter set) before installation.
-
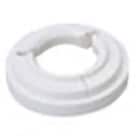
Fastening ring
(16mm) -

Fastening ring
(17.5mm) -
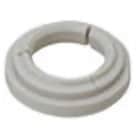
Fastening ring
(19mm)
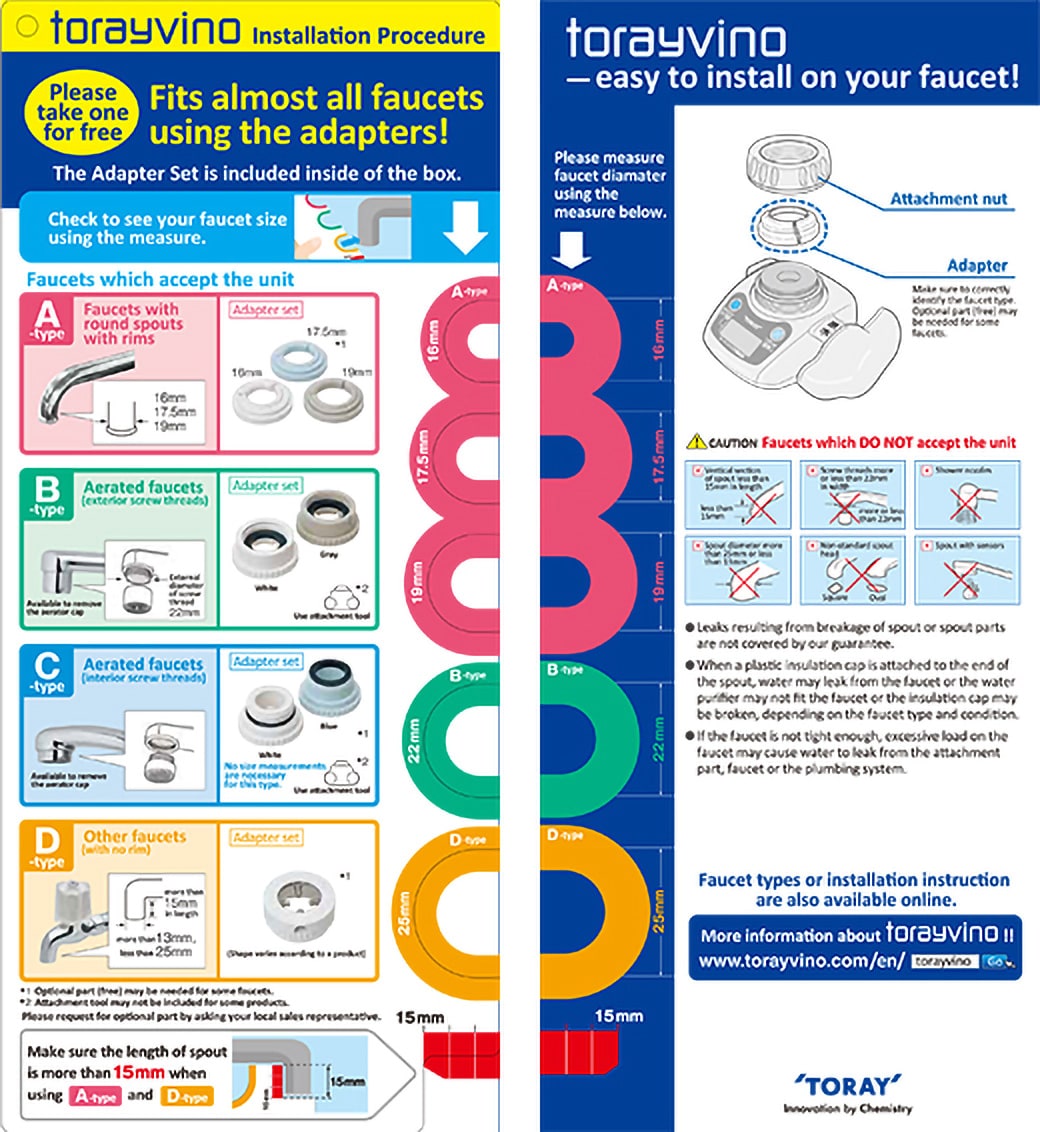
Measure the faucet diameter.
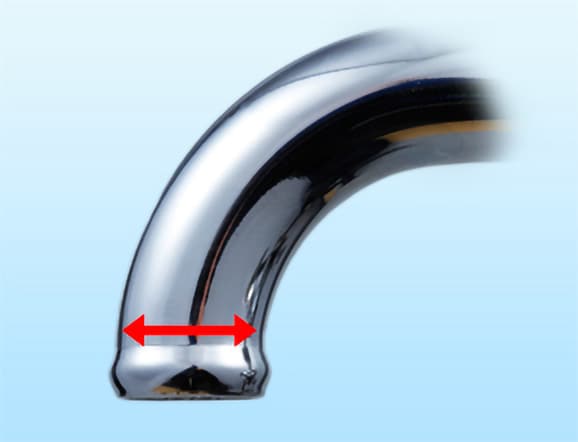
Use the diagram provided in the Instruction manual or measuring tape to measure the diameter as shown.
- ※ Faucets with diameters other than 16, 17.5, or 19mm fall under faucet type D.
- ※ Chips and cracks in the faucet head may cause leaks.
- Installation guide
- For your convenience, here is installation guide to measure faucet diameter. Click download button to get the guide (PDF file).
- Download

Use the appropriate ring for the faucet's diameter.
Set the attachment nut to the faucet.
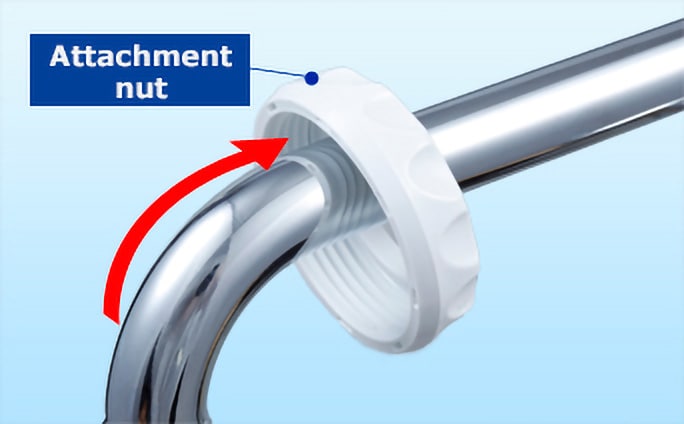
Slide the attachment nut onto the faucet as shown.
Attach the fastening ring to the faucet head.
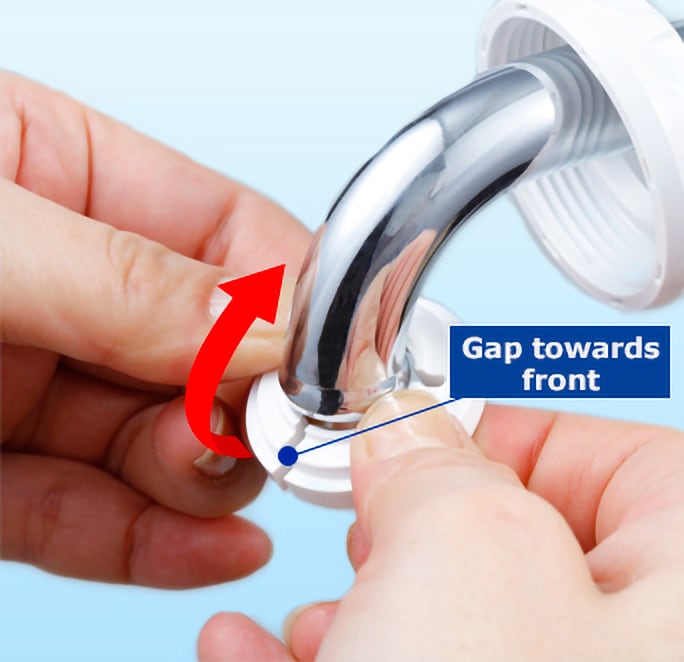
Hold the fastening ring with the gap towards the front of faucet and gently pull it open, making sure to securely fasten it above the rounded faucet head.
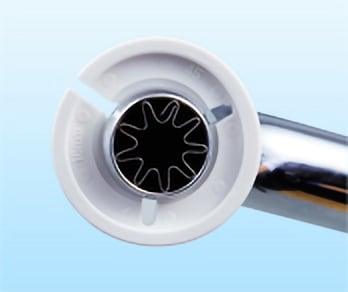
Fastening ring securely clipped over faucet head
Attach the valve body using the attachment nut.
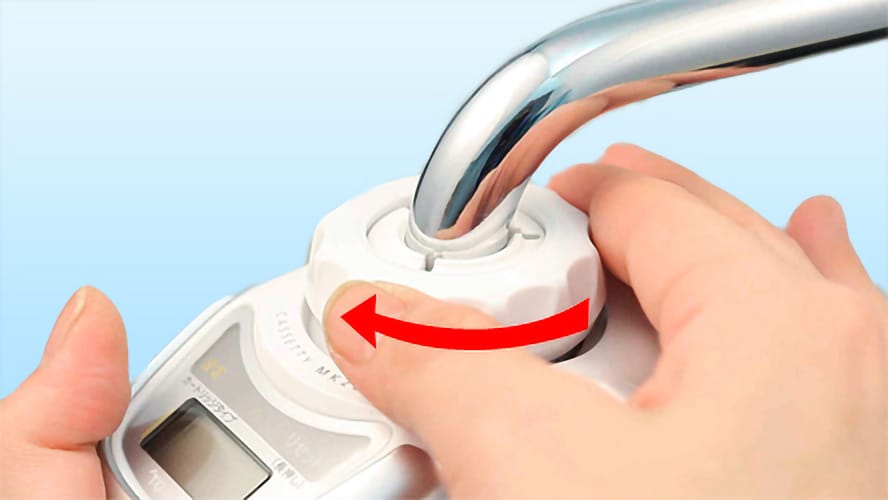
-

Warning !
- Using a tool to tighten the attachment nut may damage it. When removing the valve body, avoid touching any damaged areas as it may cause injury.