INSTALLATION PROCEDURE
Type B Installation
(external threaded with aerator)
> Check the installation movie
The MK series body is shown below. The same process is used to install the SX series and counter top type water purifiers.
Prepare the following parts (included in the Adapter set) before installation.
-
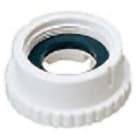
Exterior thread aerated
faucet adapter (white) -
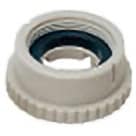
Exterior thread aerated
faucet adapter (gray) -

Attachment tool
COIN
Not included in all models. A coin may be used in place of the attachment tool.
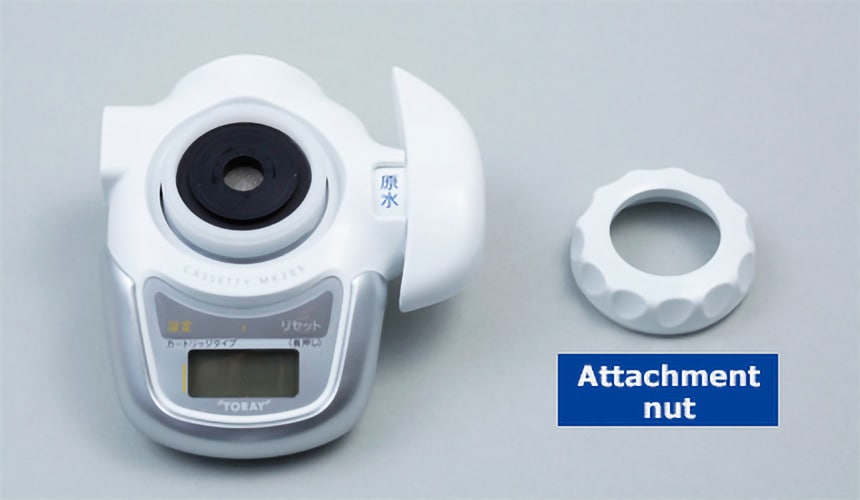
Remove the attachment nut and fastening ring from the valve body.
Remove the faucet aerator.
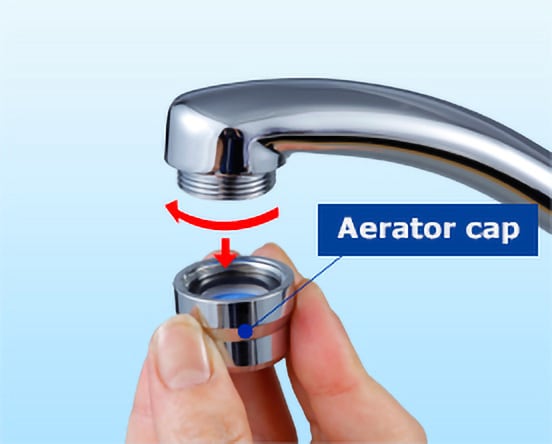
*Chips and cracks in the faucet head may cause leaks.
Attach the attachment nut to the faucet.
Be sure to use the adapter whose threads match the faucet.
If the faucet threads do not match those of the white aerator adapter, use the gray aerator adapter.
The attachment nut
slides onto the faucet
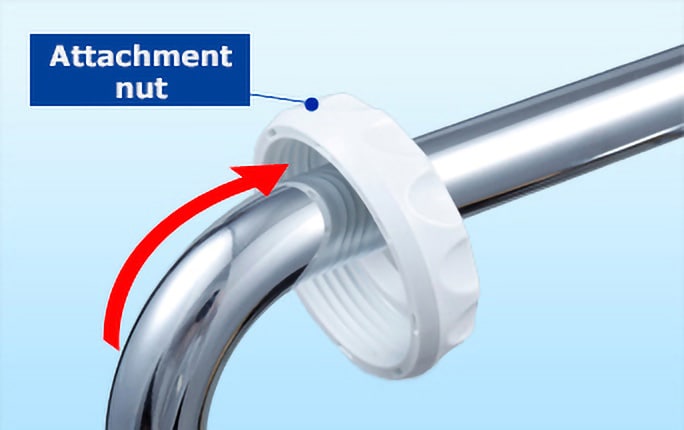
The attachment nut
does not slide onto the faucet
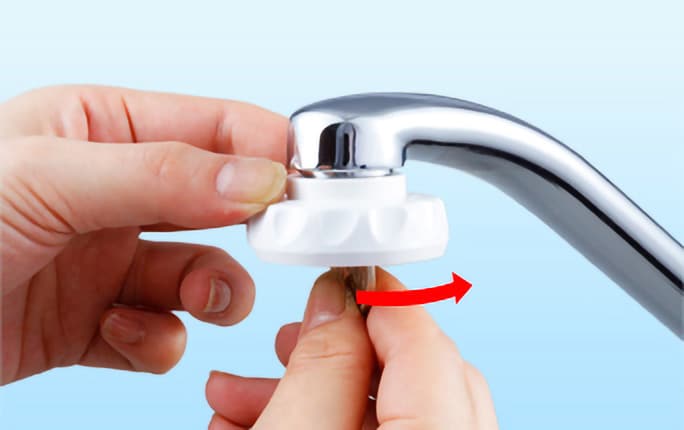
Installing the aerator adapter
The attachment nut
slides onto the faucet
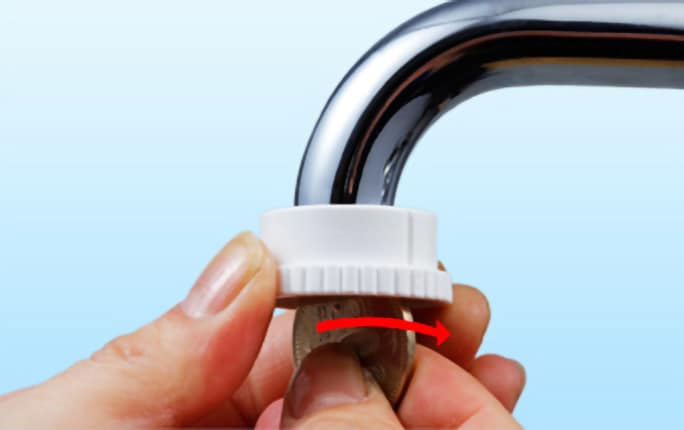
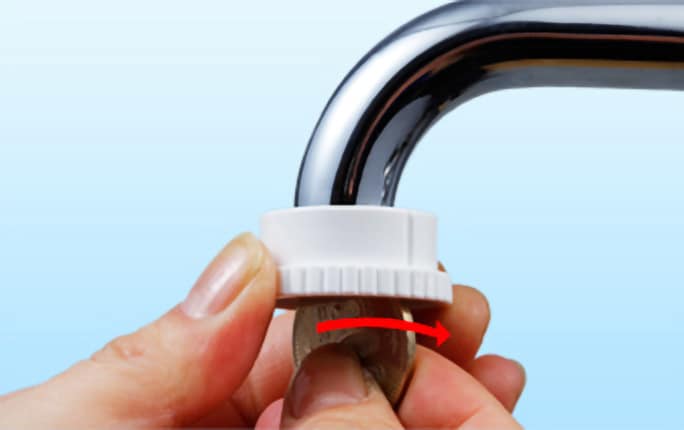
Using the attachment tool, carefully screw the aerator adapter into the faucet.
The attachment nut
does not slide onto the faucet
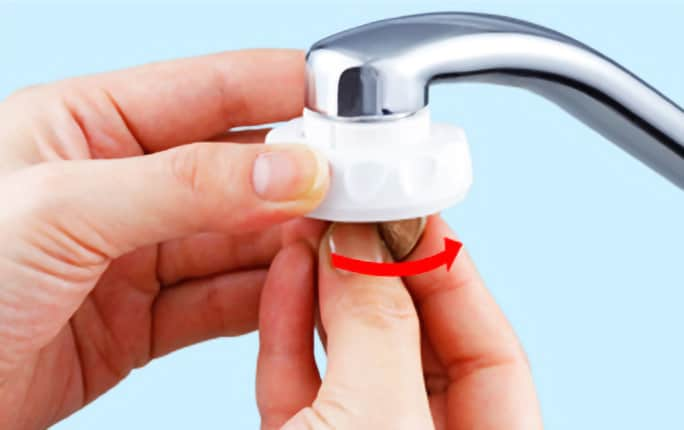
Using the attachment tool, carefully screw the aerator adapter into the faucet.
-

Warning !
- When installing the adapter into a plastic faucet head, take care not to damage the faucet.
Attach the valve body using the attachment nut
-

Warning !
- Using a tool to tighten the Attachment nut may damage it.
When removing the valve body, avoid touching any damaged areas as it may cause injury.

